
How to Get Google Adsense Approval Fast for Your New Blog
As a new blogger, if you
aim to transform your blog into a revenue-generating platform, Google Adsense
stands out as the premier ad network to help monetize your content. However,
gaining Adsense approval can be challenging due to their stringent policies.
The good news is, with the
right approach, you can secure Google Adsense approval swiftly. In this
article, I'll walk you through essential tips and strategies to increase your
chances of getting approved.
Let’s get started!
Essential Steps for
Google Adsense Approval
1. Create High-Quality
Content
Ensure your blog is filled
with original, valuable, and engaging content tailored to your target audience.
Each post should be in-depth, preferably over 600 words, and free from
prohibited content. Quality over quantity is key here.
2. Optimize for SEO
Make your posts
SEO-friendly by using meta titles, descriptions, and keywords. Utilize tools
like the Yoast SEO plugin if you're on WordPress. This not only improves your
search engine rankings but also makes it easier for Google Adsense to review
your site.
3. Publish Sufficient
Content
While quality trumps
quantity, having at least 10-15 well-written posts can strengthen your
application. Ensure each page on your site has relevant content, demonstrating
your blog’s value and purpose.
4. Include Essential
Pages
Your blog should have an
About page, a Privacy Policy page, and a Contact page. These pages are crucial
for transparency and legal compliance, and they help build trust with both your
audience and Google.
5. Be of Legal Age
Google Adsense requires
applicants to be at least 18 years old. If you’re younger, you can have a
parent or guardian apply on your behalf.
6. Use Legal Images
Avoid using copyrighted
images without permission. Opt for images with appropriate licenses or use free
stock photos from sites like Unsplash or Pexels.
7. Design a Professional
Blog
Your blog should be
user-friendly and professionally designed. A clear navigation menu and a
responsive design enhance user experience, making your site more appealing to
both visitors and Google.
Applying for Google
Adsense
Once your blog adheres to
the above guidelines, you’re ready to apply for Google Adsense. Visit the
Google Adsense signup page, fill in your details, and submit your application.
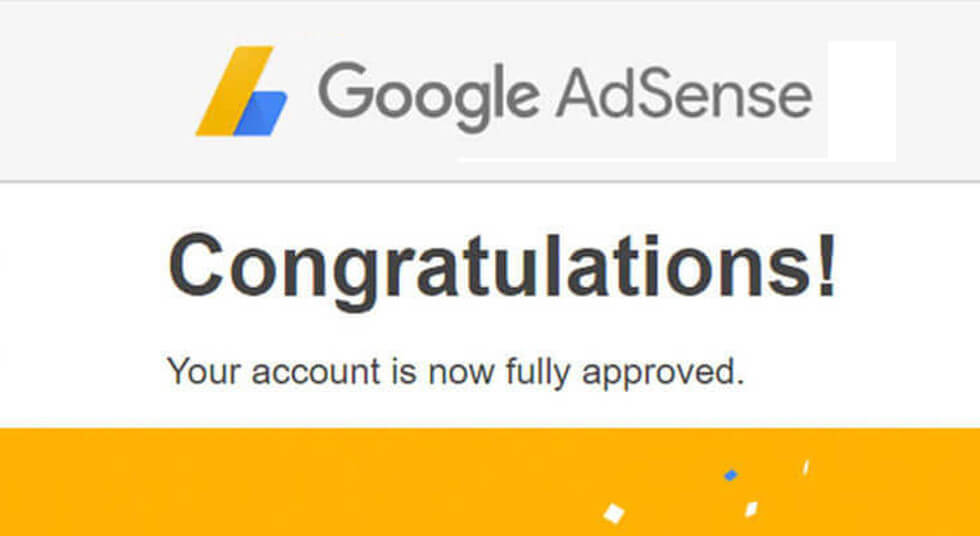
The Approval Process
After submitting your
application, add Adsense codes to your blog. Your ads will appear blank until
your site is fully reviewed, which can take 1-2 weeks. Upon approval, you’ll
receive an email confirming that your site is ready to display ads. From here,
you can start earning revenue.
When your earnings hit $10,
Adsense will send you a verification PIN. Enter this PIN in your Adsense
account. Once you reach $100, Google will process your earnings and send them
to your bank account.
Alternatives to Google
Adsense
If Google Adsense doesn’t
suit your needs, consider alternatives like PropellerAds or Media.net. These
platforms offer competitive payouts and a wide range of advertisers.
Maximizing Revenue
Besides Google Adsense,
explore other monetization strategies such as affiliate marketing, sponsored
posts, and direct ad sales. Using a WordPress ad management plugin like Ad
Inserter or AdSanity can simplify managing multiple ad types on your blog.
By following these tips and
maintaining your blog diligently, you’ll significantly improve your chances of
getting Google Adsense approval. If you have any questions or need further
assistance, feel free to leave a comment below.
Enjoyed this article? Share
it with your fellow bloggers and help them get Adsense approval too!
Thanks for reading! 💚
